blog love....

One of the best things about starting a blog is the joy of following others. Every time I go to my blog dashboard  I have a look at the list of all the recent updates from my favourite craft and sewing blogs. I pour over their content, marvelling at the creativity and generosity of people just happy to share their work and ideas with the rest of the crafting community. I have learned so much from sewing tutorials online, it's the most valuable thing the internet has ever given me! I hope I can help people with my tutorials one day!

Here are some of the blogs and projects I have been eyeing off recently (all pics used with permission)
Jessica from Running with Scissors has a gorgeous blog with some great tutorials. I really like this bird pillow cover tutorial using a freezer paper stencil. I'm yet to try this technique for stenciling but I am keen to give it a go!


I found this GORGEOUS spring fever dress tutorial made by Jessica from her lovely blog me sew crazy. I am amazed at how generous people are and their willingness to share their work. This is a beautiful dress for little girls (though I wish it came in my size!). I'd like to give it a go sometime!


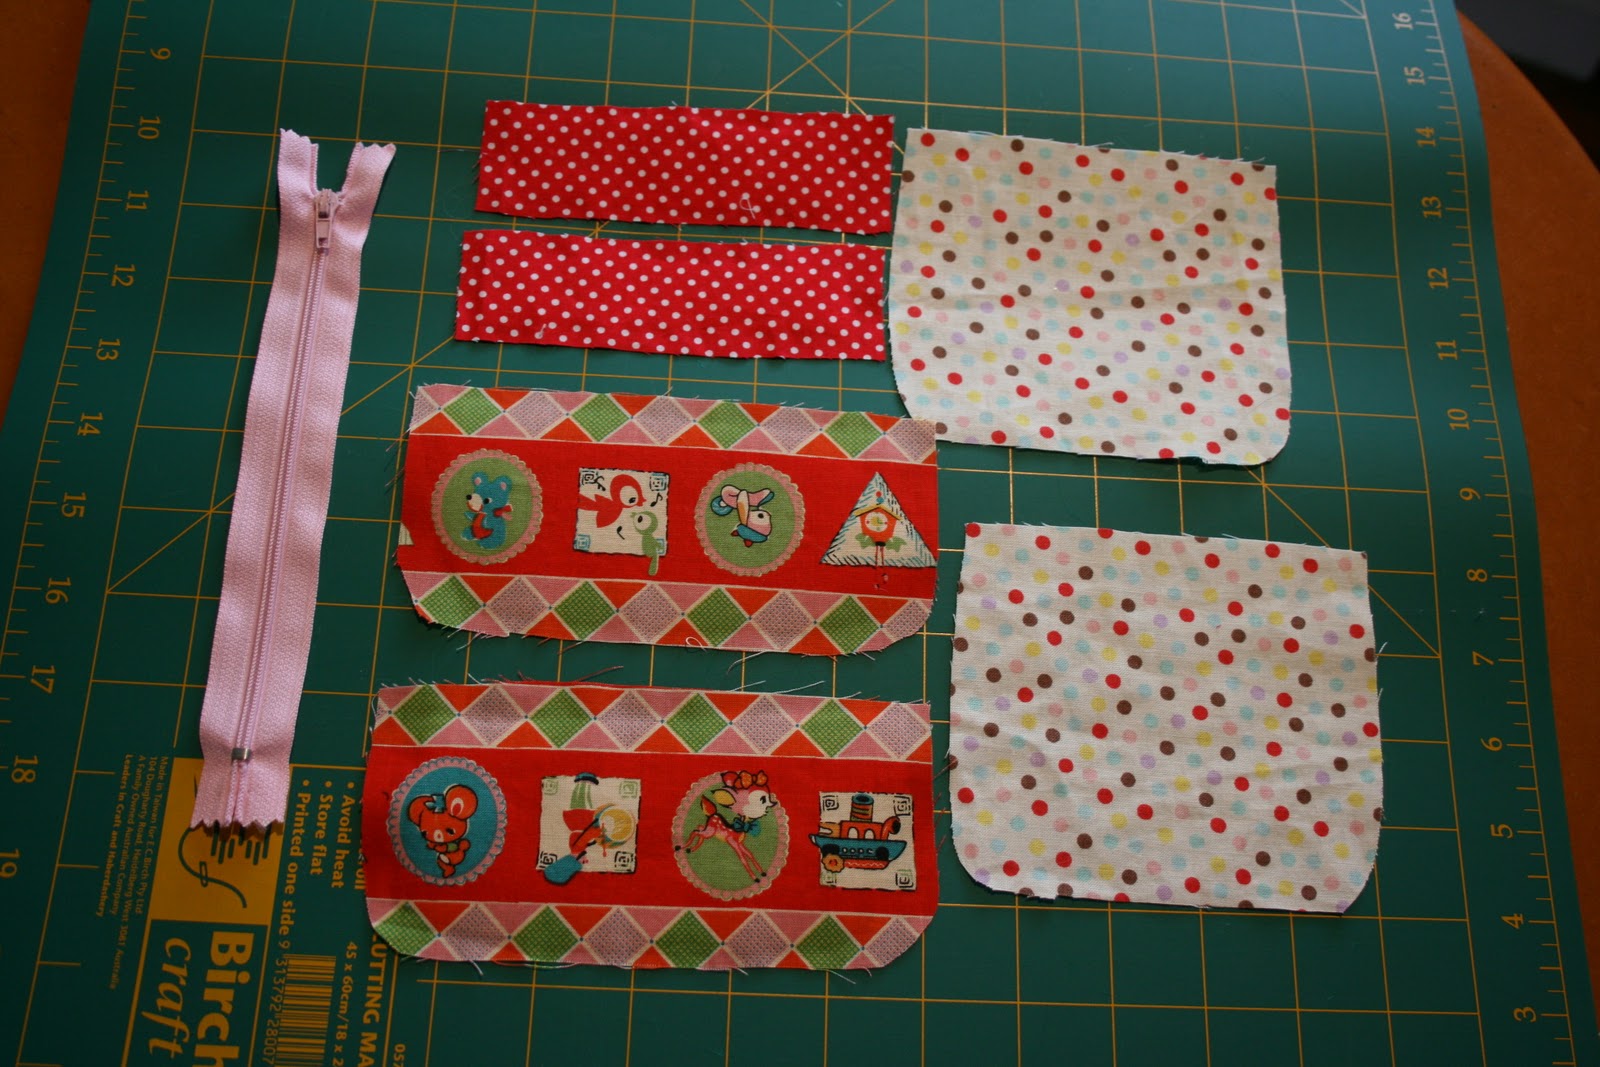
A cute little gathered clutch tutorial i'd like to try comes from noodlehead. It has an internal pocket for credit cards and a gathered front. It also has fabric covers for the ends of the zippers which look nice too. There are lots of really cute things on this blog for little kids. Great use of fabric too!


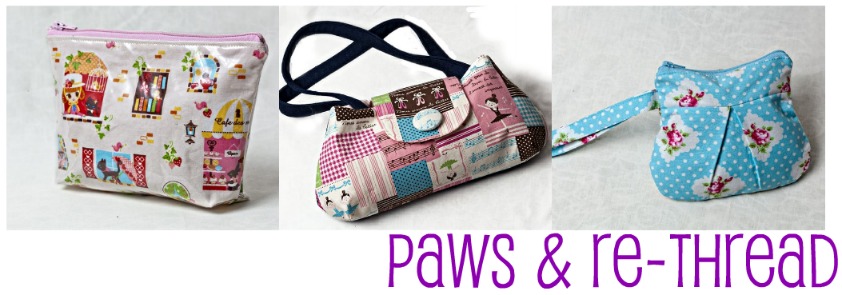
A blog I have always admired is from Lisa at u-handbag. She has some great little tutorials for sewing zippers into lining, sewing on bag handles and dealing with purses with mtal frames. I really love this bag and the cute robot fabric. She has kindly offered the 'for pleat's sake' tutorial with a pattern sheet. I am definitely going to give this one a try soon.


I wouldn't have learned even a 10th of what I have about sewing if it wasn't for fabulous tutorials such as these. I can't wait to try these ones out!

What sewing blogs or tutorials have you been loving lately? I'd love to know!

zippered purse experiment

I like making zippered purses for lots of reasons. They're cute, handy and I can complete one in about an hour which appeals to my impatient/short attention span side.

Recently I was out shopping and came across a little zippered purse with a front zippered pocket. I had a good look at it and figured out how I could make it myself and save $16.
I had a fat quarter of cute kokka fabric at home and some leftover denim I have been wanting to use for awhile. I think they suited the project really well.

Here are some pics of the end result taken by my clever husband.

front

back
inside main pocket

inside front pocket

The zippered pocket at the front turned out pretty well but is a little crooked! 
I like the little applique ballerina on the back. She's from another part of the same piece of fabric, and since I couldn't fit her on the front I included her on the back.

appliqued ballerina

I think it's quite a versatile style and would probably look good as a long pencilcase. I think next time I'll also experiment with fusible fleece or some heavy interfacing to give it more body, and include a strap. I think if I were to make pencilcases I'd probably need to use metal zippers for extra strength, although I am not sure how you sew a metal zipper without breaking a needle.... any suggestions?

What do you think? Any comments or feedback would be very welcome!

Angry birds are go! Part 2

In 'Angry Birds are go! Part 1', we established the premise for making 3 padded costumes for my friends Josh, Jimmy and Seb. Now we begin the process of making it a reality.

We had our first costume meeting over a couple of drinks and discussed some important factors: Will they be able to sit down? How hot will the costumes be to wear? Will they be able to go to the bathroom easily? Who can we convince to be the pig so we can tackle them all night?
After taking these things into consideration, I made some measurements, discussed fabric and entertained Seb's idea of also making a 'cool vest' which houses two ice packs and one plastic hip flask for easy access to booze. Of course.

Here are some photos of the process, taken by my clever husband Karl who was along for funsies.

Josh- Black bird


Jimmy- red bird

lol

Seb- yellow bird
Seb's 'cool vest' sketch

The next step was for me to go away and draft the patterns for each bird......

Being a terrible drawer and a total novice at pattern making for clothes/costumes, I asked my work colleague Sara for some suggestions. Sara, is conveniently both an Angry Birds addict (she's finished all the levels, bought several upgrades etc) AND someone highly skilled in pattern and costume making (where do I find these people?!). She not only explained how to make the costumes, she helped me tape up giant pieces of butcher's paper together and drew ALL the patterns for me!!! What a legend!!! She did us the biggest favour and saved me a whole world of pain. Woo hoo!

With the red bird pattern tucked under one arm, I visited a fabric shop in Marrickville, Sydney, where I managed to purchase some red polyester for $3 per metre. Bargain. The original costumes I'm basing ours on were made from polar fleece, which is way too hot for February in Australia. 

So now I'm ready to check the patterns against the boys to mark spots for arm and leg holes, then I can get started!

Vege tagine + spiced quinoa

For those of you who know me well, you'll agree it's a rare occassion for me to be found in the kitchen for any purpose other than for washing dishes (joy of joys). I'm not the master of spatulas, measuring cups or of wooden spoons (uness I'm winning one for the 'poorest efforts in the kitchen awards') mostly because Mr Elegantpaws does such a super job, that most of the time i'd really only get in the way.
I'm much better off lying on the couch with a glass of red watching something mindless on tv and offering supportive and encouraging comments such as, 'need any help dear?' 'oooh, that smells good' and 'when's it going to be ready i'm hungry' etc.

Anyway, since i've been on a gluten free diet, I have been keen to try and get a variety of grains into my diet so i'm not relying on rice and buckwheat. I have heard a lot about Quinoa (Keen-Waaa) so I hunted around for something easy I could make and I found this recipe:

Sweet potato, zucchini and chick pea tagine
It turned out really well much to my surprise, there weren't even any burnt bits in it from the bottom of the pan! It's pretty healthy with all the vegies and protein from the chickpeas. The quinoa is made in the same way as cous cous (I think..) and makes a good replacement in general.

I did add a couple of variations to the recipe:

- we didn't have any sweet potato so I used carrot
- I roasted some pumpkin and stirred it through the quinoa, making it super tasty and a dish you could probably eat on its own.  

It was quick and easy and I highly reccommend it for any of your friends who are vegetarian/vegan/gluten free/lactose free. Feel free to pass on the tasty food love!

xx

Angry Birds are go! Part 1

'Playground Weekender' is a dance music festival which takes place every year in Wiseman's Ferry, NSW. They have a special tradition whereby everyone must dress up in costume for one of the nights, with fabulous and entertaining results. Here are some pics of friends from previous events.


Recently there was a discussion on facebook between friends who were trying to work out what they wanted to do for the costume night. Madeleine (green ghost above) came up the the brilliant idea of the boys going as Angry Birds. I recently had a short addiction to the game so I was super enthusiastic about this and promtly offered my services (with absolutely NO IDEA how to make a costume at all). With some quick fingers and google assistance (where would we be without it?) I found the following entry on the clock blog of some impressive looking handmade Angry Bird costumes:

Jordan from The Clock Blog kindly emailed me some instructions (now on his blog) on how to make these wonderful and hilarious costumes which I forwarded on to the interested party.
I am now in the 'discussion, measuring and meeting phase' with Josh, Seb and Jimmy to try and work out how we are going to do this. I thought it might be fun to track our progress and the final results.

Let the Angry Birds costume making challenge begin!


to market...

This year, I'd like to make enough stuff to have a little market stall somewhere. I could make bags, purses, jewelery, hair clips, baby bibs, skirts... the usual suspects at markets I guess!
There are lots of fantastic markets in Sydney and the handmade craze has really opened doors for some clever and inspiring designers.

Markets like the Finders Keepers or Mathilda's Markets get me really excited. I love to see what people are creating out there and often come back with lots of ideas and inspiration. I am also addicted to textiles so they are a fun place to go to touch lots of things. :) These two markets are for well established businesses and are a little competitive to get into (not to mention pricey to set up) but I might get there one day.

At this stage, I don't have any idea if anyone would even be interested in the things I can make, so before I go overboard with branding and a business plan, I think it would be worthwhile trying my hand at a little local market to suss out the scene. If it goes well, great, if not then i'll have made lots of things I can give away as presents and i'll have learned a lot in the process. Win win.

Anyway, I 'like' Finders Keepers Markets on Facebook and they posted an interesting article, top 10 tips: applying for the markets on their blog. It has given me something to think about and something to aim for in the future.

First things first though, you can't have a market stall without stuff in it. Better get sewing then. :)

tutorial: mini coin purse

Yesterday I was feeling bored so I decided to have a go of making a mini coin purse. I love little pleats in things, so I based the pattern of the coin purse on this pleated pouch from skip to my lou.


I have lots of small bits of favourite fabric lying around (some call it hoarding...) so these coin purses are a way I can use them up. They also make cute little gifts.


I made my own pattern for this so naturally I was quite surprised when it turned out ok! This is quite a long tutorial with lots of pictures, as these were the kind that really helped me when I was learning. Any feedback on the instructions are welcome! 


Here is a pic of the finished purse.


Materials needed:
- feature fabric
- purse top fabric
- lining fabric
- iron on interfacing (optional, depending on fabric thickness)
- zipper (any length, you'll be cutting it anyway)
- paper, pencil and ruler
- pins, machine, coordinating thread.


Seam allowance: about 1cm (about 2/5ths ") I just use the edge of my foot most of the time. I don't think it makes a huge difference in this project.


Step 1: make your pattern (super easy)
For the top of the purse, draw a rectangle 3.5cm (1.5") by 12.5cm (5")
For the purse body, draw a rectangle 7.5cm (3") by 15cm (6"). Round off the bottom corners with a gentle curve.
for the purse lining, draw a squarish shape, 10cm (4") by 12.5cm (5")
Your pattern should look like this (minus the shadow of my cat Claude's face) Apologies for the dodgy picture!
make your pattern
Step 2: cut out your fabric
Pin your pattern pieces to your chosen fabrics and cut out two of each for the front and back of the purse. I find it easiest to fold the fabric in half with right sides together and cut the two pieces out at once using a rotary cutter. it means that the two pieces should match up properly when you're sewing them together later.


cut fabric & zipper


step 3: add interfacing (optional)
At this point, I used some iron on interfacing on the purse top and body to give my purse some extra stability. These fabrics are fairly light cotton and can be a bit floppy, but if you're using heavier fabric like linen or denim you might not need it. I make the interfacing pieces smaller than the fabric pieces so it doesn't add bulk to your seams.
add interfacing if necessary
step 4: make pleats
Take your purse body pieces and some pins. You'll notice the purse body is a little longer in length than the purse top. This is to allow for the folds you make in the fabric to create the cute little pleats. After you've made your pleats, these pieces should be the same in length, so keep the pleats pretty small.
To make a pleat, you basically fold the fabric on itself and pin it in place wherever you want to pleat to sit.  I have 3 pleats in my purse, all going in the same direction. Experiment with it until you're happy.
Repeat with the other piece.


make 3 pleats, pin in place
Important: After making and pinning your pleats, grab one of your purse top pieces and check that its length is the same as the length of the purse body. the purse body will have a little curve in it due to the pleats, but you can stretch it a little to line it up. 


To hold the pleats in place, give them a little press with your iron and stitch across the top, using a small seam allowance so you don't see the stitches later on. Press again.


stitch across the top of the pleats to hold in place
Step 5: attach purse body to top
Pin the purse top to the purse body and stitch in place. Press flat.


Step 6: attach fabric to the zipper
Cut your zipper to a length a little longer than the length of the purse lining. Cut it from the end with the zipper pull, but be careful not to let the zipper pull come off the end as it's a pain to get back on. (Yes, it came off during this project and I had to pry off the metal thing at the bottom to get it back on again) It would be sensible to put a pin in the end to make sure it doesn't happen. Feel free to learn from my stupidity. :)


Lay one of your lining pieces face up on the table. Lay the zipper on top, also right side up. the zipper ends should hang over each end of the fabric as pictured below. Don't pin yet.


Lay one of your body pieces face down on top of the zipper and lining piece.


 Line up the fabric and zipper tab carefully at the top and pin into place along the length. Don't worry if the curved bottom edges of the body and lining don't match up as you won't be sewing these bits together anyway.
In the picture below, I have pulled back the main body pieces so you can see the zipper sandwiched between the lining and the body.


zipper sandwiched between lining and body fabric
Using the zipper foot on your machine, carefully stitch along the length. You don't have to sew super close to the zipper teeth for this project as the zip sits on top of the purse. Also, I find if I sew too close then the zip gets caught in the lining all the time which makes it a pain to use.


Tip: This has made sewing zippers heaps easier for me: Start at the end of the zip with the metal closure and the zip pulled up completely. When you have sewn about 3/4 of the distance, stop with the needle in the fabric, lift the zipper foot off the fabric (the needle will hold it in place) find the zipper pull and carefully slide it up to the other end. this allows you to do the other end of the zipper easily without the pesky pull being in the way. Genius.
After sewing, press the fabric so it sits flat against the zipper. You can top stitch too if you like. In this picture, i haven't pressed it or top stitched it which is why it looks a bit dodgy.


Repeat this whole process again with the other lining piece and body piece:
Lay the lining piece face up, put the zipper on top, right side up. Line it up properly. This pic is just to highlight what it would look like underneath.


 Lay the other body piece on top, pin into place. Both of your outer body pieces should be right sides together as you can see below.


At this stage, I find it easier to open the zipper so the pull is at the opposite end to where you start sewing. you can then use the same tip above to sew the two fabric pieces to this side of the zipper tab.


Here's what you'll have.

outside pieces

lining pieces
Step 7: sew it together
Yay! We're almost there! The scary zipper part is over. woo!


Important: before pinning, pull the zipper across halfway or you won't be able to turn it out the right way. 


So now we need to sew the two body pieces and the two lining pieces together.  
Pin the two body pieces right sides together.
Pin the two lining pieces right sides together, leaving a gap of about 4 or 5 cm (2") in the bottom so we can pull it through the right way later.
In the picture below, the gap is marked with a bobby pin.
In this picture you can see the zipper ends poking out of each end. When you put the lining and body pieces together, the zipper will need to be adjusted so the tabs are sitting flat on top of each other, facing the same direction (if that makes sense). I find it makes it easier to sew them down and looks neater when you turn it the right way.


pin around the whole thing leaving a gap in the lining to pull it all through
 Sew around the perimeter of the purse. choose a method below-


A (easiest)
Starting next to the gap you have left in the lining, stitch all the way around the perimeter of the purse, carefully going over the zipper ends, and stopping at the gap in the lining at the other end.


B (still easy but probably not explained very well...)
First I sew around the body. Starting in the middle of the bottom, i work my way around to one of the zipper ends. I go over the zipper and stop just beyond it on the lining side. Then, I flip the purse over and repeat on the other side of the body piece.
- Repeat this process on the lining side, extending the stitches to just beyond the zipper tab on the body piece. this way, you have sewn over the zipper end twice which makes it stronger.
Method B also allows you to change thread colour more easily as there is a gap in your sewing when you change sides, but either method would work well.


Note: Take care when you go over the zipper end with the metal fastener. it will be close to the seam allowance so take care you don't hit it with your machine needle.


sew around the perimeter of the purse
Trim the excess zipper and clip your curves so they sit nicely when pulled through the right way.
Now this is the fun part. Put your hand (or fingers if you made the gap too small eep!) into the gap in the lining and pull the body of the purse through the opening.


 Keep pulling until it's right side out.


Use a chopstick to poke out the corners of the zip and the curves of the purse body and lining.
Slipstich closed the gap in the lining and press the whole thing flat.


Hooray! You've made a cute little purse for your coins, lip gloss, minties, Chiuaua..... maybe not. 


front


back
I hope you found this tutorial helpful and fun. I'd be happy for some feedback if you think it needs some work.


Now go and make one for your favourite friend! Yay!


X


Photobucket


Mexican oilcoth

One lazy Saturday, I was driving to one of my favourite fabric stores, the Quiltsmith (in Leichhardt, Sydney) when I drove past a shop called 'me too please'. I had to stop as they had rolls and rolls of Mexican Oilcloth o display and I got very excited! I have looked up projects with oilcloth in the past but hadn't seen any around until now.
Lisa, the owner of the shop was really lovely and helped me pick out some prints and gave me some ideas for use of the oilcloth.

I picked up some large coffee tins from Reverse Garbage in Marrickville for $1 each (Reverse garbage is like a treasure trove of discarded things from warehouses just waiting to be upcycled!) and covered them with the oilcloth using double sided tape. these could be used to store pasta etc as they're air tight.

Here are some pictures of the process:
find a suitable tin

use these things to cut out and stick

enjoy your retro looking tins

 I love oilcloth and can't wait to have a go at sewing with it! Yeay!
Related Posts Plugin for WordPress, Blogger...